Music Tech: Everything You Need For Your Own Affordable Home Recording Studio
Are you tired of trying to promote your music with the same poor quality web cam videos? Or have you had a go at recording but can’t figure out why it still sounds so poor? We have entered an age where ‘youtube sensation’ is now a commonly used description of amateur musicians that have achieved viral status on the internet. The music industry has evolved in a way that now encourages artists all over the globe to take to the web and publish their own music to garner attention from fans and critics alike.
But how do you make sure yours stands out as a brilliant reflection of your talents? How do you make sure listeners aren’t distracted by distortion, poor balance or just plain old mediocrity? And, perhaps most importantly, how do you do this without spending thousands of pounds for very little in return? Well, continue reading to find a detailed list of everything you will need to create tracks worthy of promoting your talent without the usual loss of quality, all possible from your living room!
PC/Laptop
It goes without saying that you need a relatively high performance computer for the recording process as it can be a demanding task. That said, both desktops and laptops are becoming increasingly powerful these days so as long as you have stayed up to date with technology and you’re not trying to use an ancient machine, you should be ok. So what kind of specifications are we talking about here? Well, you’re going to want at least 3GB of RAM and a quad core processor. This will allow for effortless use of the sophisticated software required to process your music. These specs will mean no stuttering whilst you are trying to run multiple applications on your computer and will also reduce latency dramatically (delay between input and output of sound). On top of this, you will probably require at least a 500GB hard drive. It’s easy to rack up a vast amount of tracks in a short space of time and unless you’re super organised at deleting what you don’t want, you will need space to keep them. Because we’ll be using an audio interface, you won’t need to worry about the quality of the sound card as the interface is essentially an external sound card and replaces the one in your computer but there will be more on this later.
Software
 This is probably where you will save the most money but will also be where any music tech lovers might stop reading. As with everything listed here, how much you spend will be directly determined by what quality you want from your equipment. And given that this guide is about simplicity, there is a very simple and, more importantly, free piece of software called Audacity that more than caters for beginners and intermediate users’ home recording needs. This editing software enables you to use all the equipment we are going to list here and produce solid audio recordings.
Don’t get me wrong. It is very basic and would not satisfy the trained music technician but this makes it ideal for those looking for hassle-free recording with little experience needed. It takes away many of the extravagant and potentially confusing features that the more sophisticated programmes use and comes with a comprehensive how-to guide and its own dedicated wiki page to help you get started with your recording projects.
If you really don’t trust the free software, then you can have your pick of the professional programmes, including Cubase, pro tools and logic for anywhere between £200 and £1000 depending on the edition you want, how many licenses it comes with and how well you shop around. But for the purpose of producing demos and music video soundtracks, Audacity does the job just fine.
Audio Interface
Probably the most important piece of equipment you will have to purchase, an audio interface is essentially an external sound card that converts various audio inputs into audio data in a more efficient and sophisticated manner than your computer could do. This component will dramatically improve the quality of your recording from amateur to a publishable standard.
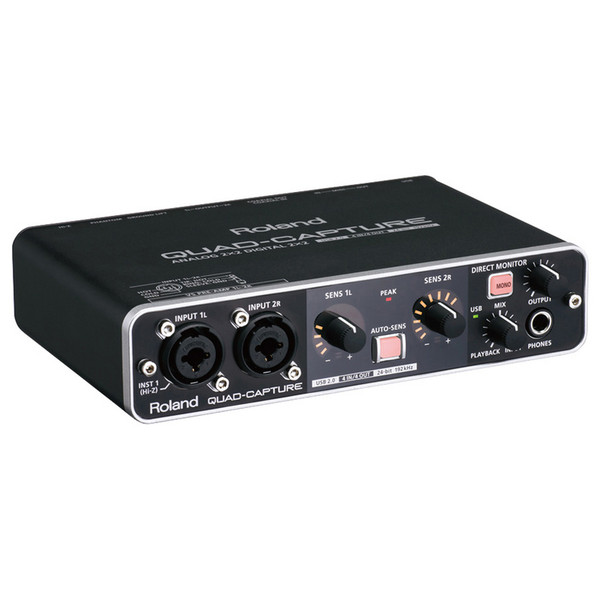
Roland UA-55 Quad Capture Audio Interface
Using an audio interface will also enable you to use higher quality microphones and other inputs as well. Without it, you could record with your internal microphone in your computer or a USB mic, but with it you can connect any number of inputs from microphones to electric guitars or electric drum kits which multiplies your recording capabilities infinitely. There are a few things you will need to consider before purchasing your audio interface;
- Firstly, how many inputs will you require? This will be determined by how many mics or instruments you are going to use per track you record. If you’re doing a simple acoustic recording or if you’re planning on recording all your instruments separately, you shouldn’t need more than two. If you want to record a full band performing live, you will need more.
- If you’re going to be using a condenser microphone (more on this later), you will need your audio interface to have phantom power to enable the microphone to work.
- Playback – What sound system are you going to listen to your tracks through? Most audio interfaces come with stereo outputs and left and right jack outputs for studio monitors. You can alternatively just plug normal speakers in via the headphone jack but this is not advisable.
- Make sure whichever audio interface you choose is compatible with your computer’s operating system. Again, in this day and age this shouldn’t be a major issue.
- If you want to use MIDI instruments, it will need to have MIDI inputs and outputs but this is not essential for simple home recordings of live instruments and vocals.
A suitable audio interface with two inputs should cost you between £100 and £200 and a good example is Roland’s UA-55 Quad Capture going for £189 on gear4music.com but you should always shop around. Obviously you can save more money by looking on eBay.
Microphones
To complete the list of fundamentals of basic home recording, you will need a good quality microphone. Your microphone is the one area where you should not try and skimp on cost. That £10 USB microphone will be why your recordings still lack that professional sound. But if you invest in even a medium quality microphone (you could spend thousands) then you will reap the benefits from its first use. Let’s look at what kind of microphones you might need;
-
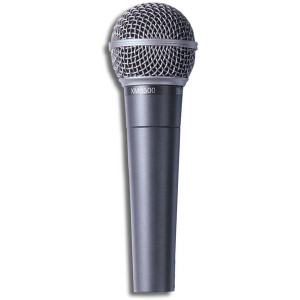
Behringer XM8500 Dynamic Microphone
Dynamic – These are generally the cheaper option and probably what you would most commonly recognise as a vocal mic at a live performance. If you really want to save money, this is the mic you would want. They are great for recording drum kits and loud sounds but it is difficult to get a high quality recording from these types of microphones without parting with a tonne of cash. A reasonable example is the Behringer XM8500 which is a good value budget mic for just under £20 on Amazon.
-
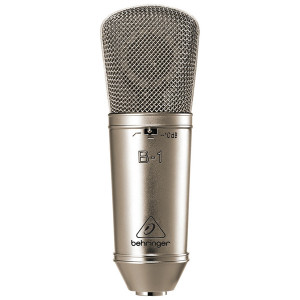
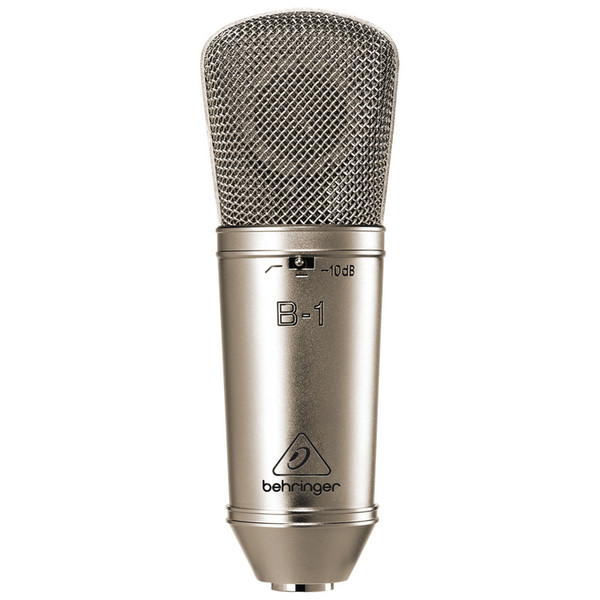
Behringer B-1 Condenser Microphone
Condenser – These are the better option and advisable for a more diverse use and higher publishable quality. They are generally more expensive but for a very good reason which you will notice if you invest. They do need phantom power so remember to get an audio interface that has this feature if you choose a condenser microphone. There are various types of condenser but a large diaphragm mic with a cardioid polarity pattern (something that will only pick up the sound it is pointed at) would be suitable for home use. You should be looking to spend between £50 and £200 on a condenser microphone that will do the job and a great example is the Behringer B-1 brand new on Amazon for £68.

If you’re on a budget, you should be able to do all your recording with one microphone by recording one instrument or vocal track at a time. It will be more time consuming but will save money. Remember if you want to use more than one microphone or instrument then your audio interface will need the correct amount of inputs.
Cables
Cables are vital pieces of peripheral equipment and you will need a varied and copious amount of them as it is always good to have spares given their importance. Cables, obviously, have two ends and so there are several combinations of these types that you will be using.
- XLR – XLR – These will be the most important type you purchase as they are used to connect your condenser microphone to your audio interface. They cost less than £5 from amazon.
- Jack – Jack – These can be used to connect your electric instruments to your audio interface and you will probably have some of these already.
- XLR – Jack/Jack – XLR – If you buy an audio interface that only has XLR inputs you will need a jack – XLR to connect your electric instruments to your computer. They work the other way round as well. If you only have a jack input available on your audio interface, you can use a XLR – jack to connect your microphone. These aren’t vital but will be handy to have one just in case. They can also connect dynamic microphones to amps.
- Stereo cables – if you’re hooking up a stereo sound system you will need these red and white ended cables to do so.
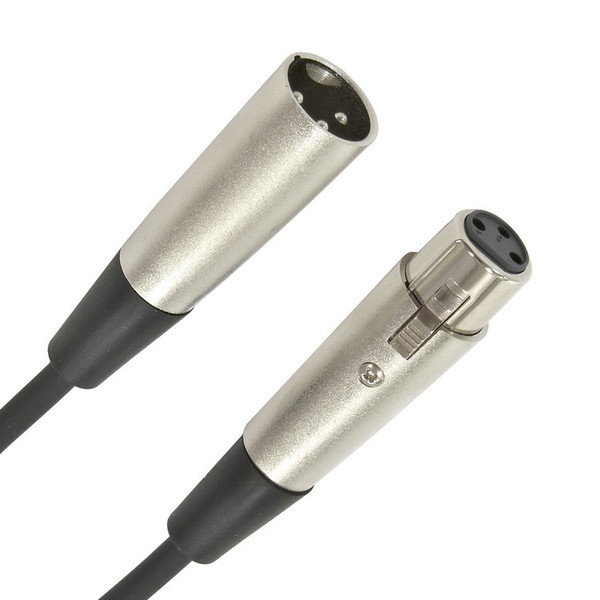
XLR to XLR
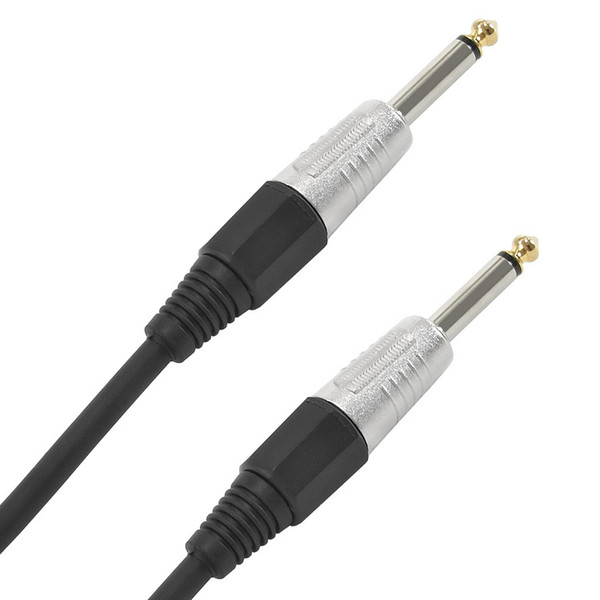
Jack to Jack
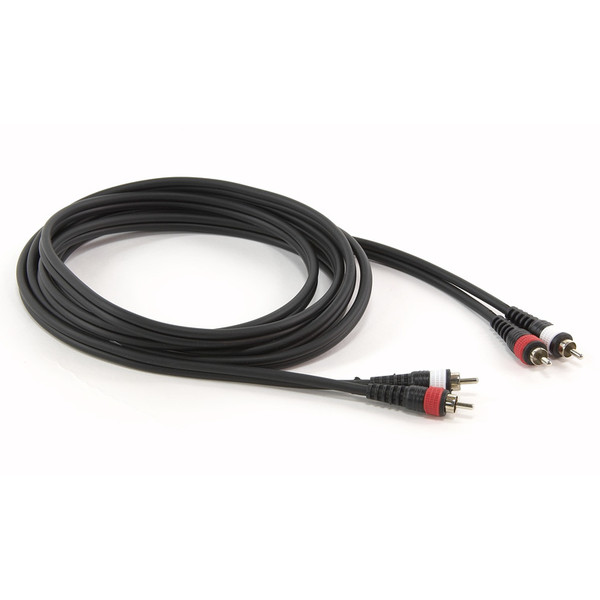
Phono to Phono (Stereo Cables)
Miscellaneous
That covers the essential components you will need to start recording at home but there are a few other pieces of hardware you may want to purchase to perfect the recording experience, even though you could improvise these items out of things lying around the house.
-
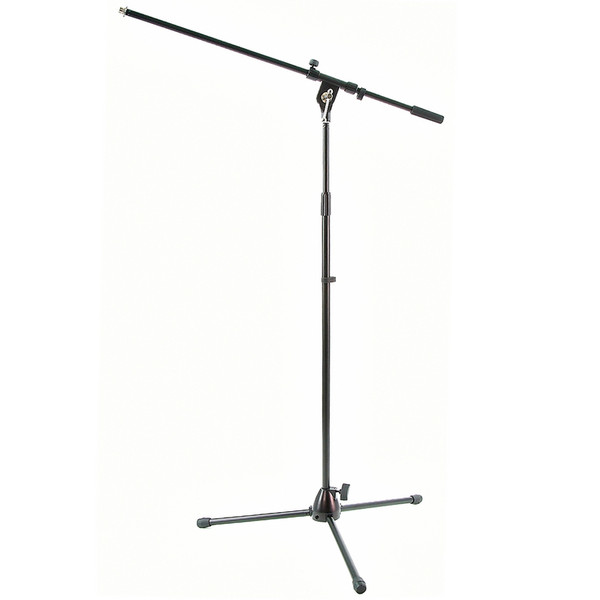
Mic Stand
Microphone Stand – These cost around £15 and ensure that your mic won’t fall during recording. It is not advisable to hold a mic while recording as if you change the distance to the recorded object it will make for an inconsistent track and, being incredibly sensitive, they will pick up the slightest movement from your hand. Alternatively, you could hang your microphone over a door, a clothes horse, a chair on a table or anything that keeps it stationary and at the right height for your performer.
-

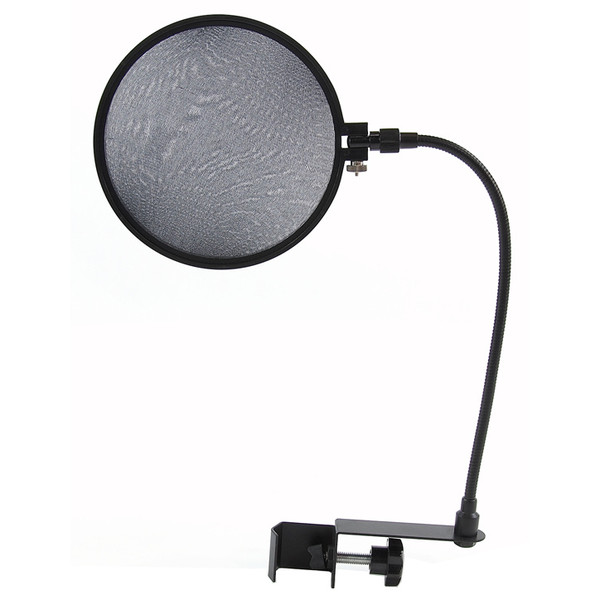
Pop Shield
Pop Shield – If you’re recording vocals, you will need a pop shield which is basically a round piece of material that goes between your vocalist and your mic to prevent harsh percussive sounds from the vocal (as in the word ‘pop’). However, a pair of tights stretched over a coat hanger works just as well as they are surprisingly expensive for what they are, costing around £15.
If you acquire everything on this list, you will be in a great position to begin any home recording project without spending thousands of pounds. Everything here (excluding the cost of a laptop or desktop but including the miscellaneous items) comes to just over £300 and that’s brand new and with more than capable equipment. There are multiple ways to shave off cost by going second hand or purchasing slightly cheaper interfaces or microphones.
Once you’ve got these basics, you can slowly add to it over time. You could buy studio monitors, effects units and a control surface to transform your gear into professional standard. It is an expensive hobby that changes as fast as every other technology field and you will probably always want newer and better equipment but this is where you should start. You don’t have to spend thousands or pay a guy for hours to do what you can do at home for a fraction of the price.
The track below was recorded with exactly the equipment listed above so have a listen if you want an idea of the kind of quality you can achieve!
What are your thoughts? Has anything been missed out that you think is vital? Or do you still have questions that haven’t been answered? Let us know in the comments section below!